How to update the geography of a country ?
The first step is to export the current geography. For that follow the steps of How to export the geography ?.
Then you need to modify the geography file. To know how to modify the geography file check How does the geography file works?.
Once the file updated, import it following the steps of How to add or update geography entries?.
The last step is to check that everything corresponds to the expected. For that follow the steps of How do I check the current geography state?.
How do I check the current geography state?
In order to check the current geography entries present in the system, you need to execute the following steps:
Look for the menu entry Geographical data and click on it.
Wait for the page to load
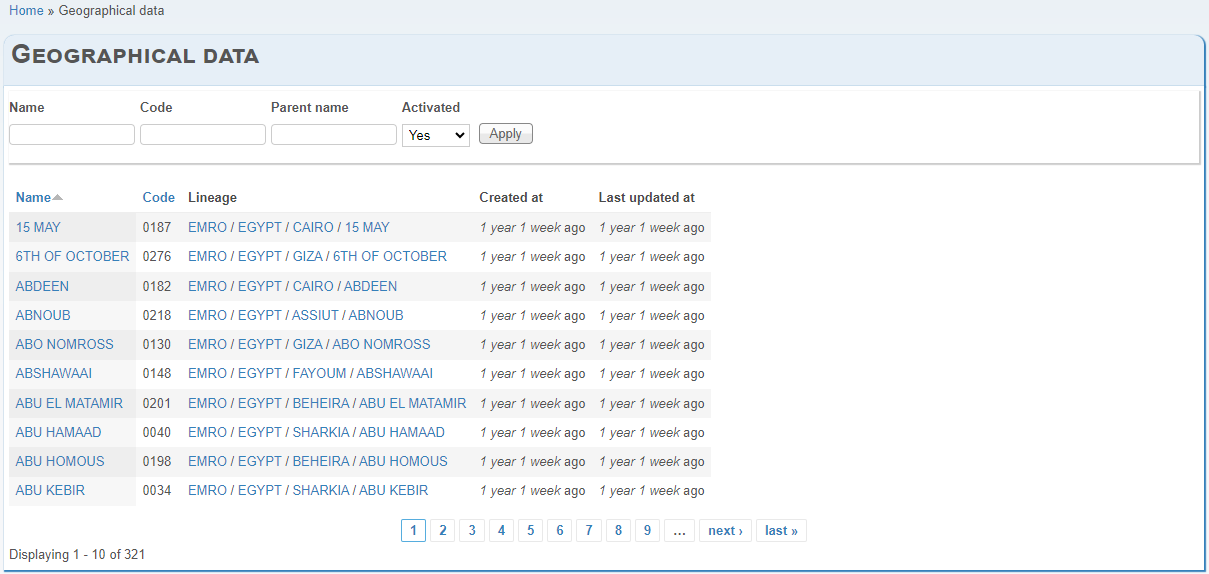
Use the filters to look for the entries you want.
How does the geography file works?
The geography file has the following structure:
AD0;AD0;AD0;ADMIN 0 Name;;1;1
AD0;AD0;AD0;ADMIN 0 Name;;1;1;AD0_AD11;AD11;AD11;ADMIN 1 NAME 1;;1;1
AD0;AD0;AD0;ADMIN 0 Name;;1;1;AD0_AD11;AD11;AD11;ADMIN 1 NAME 1;;1;1;AD0_AD11_AD11A;AD11A;AD11A;ADMIN 2 NAME A;;1;1
AD0;AD0;AD0;ADMIN 0 Name;;1;1;AD0_AD11;AD11;AD11;ADMIN 1 NAME 1;;1;1;AD0_AD11_AD11Z;AD11Z;AD11Z;ADMIN 2 NAME Z;;1;1
AD0;AD0;AD0;ADMIN 0 Name;;1;1;AD0_AD12;AD12;AD12;ADMIN 1 NAME 2;;1;1
AD0;AD0;AD0;ADMIN 0 Name;;1;1;AD0_AD12;AD12;AD12;ADMIN 1 NAME 2;;1;1;AD0_AD12_AD12A;AD12A;AD12A;ADMIN 2 NAME A;;1;1
AD0;AD0;AD0;ADMIN 0 Name;;1;1;AD0_AD12;AD12;AD12;ADMIN 1 NAME 2;;1;1;AD0_AD12_AD12Z;AD12Z;AD12Z;ADMIN 2 NAME Z;;1;1
AD0;AD0;AD0;ADMIN 0 Name;;1;1;AD0_AD13;AD13;AD13;ADMIN 1 NAME 3;;1;1
AD0;AD0;AD0;ADMIN 0 Name;;1;1;AD0_AD13;AD13;AD13;ADMIN 1 NAME 3;;1;1;AD0_AD13_AD13A;AD13A;AD13A;ADMIN 2 NAME A;;1;1
AD0;AD0;AD0;ADMIN 0 Name;;1;1;AD0_AD13;AD13;AD13;ADMIN 1 NAME 3;;1;1;AD0_AD13_AD13Z;AD13Z;AD13Z;ADMIN 2 NAME Z;;1;1
AD0;AD0;AD0;ADMIN 0 Name;;1;1;AD0_AD14;AD14;AD14;ADMIN 1 NAME 4;;1;1
AD0;AD0;AD0;ADMIN 0 Name;;1;1;AD0_AD14;AD14;AD14;ADMIN 1 NAME 4;;1;1;AD0_AD14_AD14A;AD14A;AD14A;ADMIN 2 NAME A;;1;1
AD0;AD0;AD0;ADMIN 0 Name;;1;1;AD0_AD14;AD14;AD14;ADMIN 1 NAME 4;;1;1;AD0_AD14_AD14Z;AD14Z;AD14Z;ADMIN 2 NAME Z;;1;1
Each line of the file represents a level of geography. The deeper the level, the longer is the line. Each level is composed of 7 columns that represent the following data:
Column |
Value |
Accepted values |
Information |
|---|---|---|---|
1 |
AD0 AD0_AD11 AD0_AD11_AD11A |
Free choice |
External Id used to retrieve the entry in the system. Must be unique. |
2 |
AD0 > AD11 > AD11A |
Free choice |
Code of the level. In case of the country it can be the ISO code. Other levels values may depend on your country geography information. Must be unique. |
3 |
AD0 > AD11 > AD11A |
Free choice |
A code used internally by the system. Normally the same value as the previous column. |
4 |
ADMIN 0 Name |
Free choice |
Name of the geography entry. |
5 |
Empty or |
A flag used to indicate some specific values. Leave empty unless it already contains a value. |
|
6 |
1 |
|
A flag used internally. Don’t change the value. If adding a new value set to |
7 |
1 |
|
A flag that indicates if the level is activated. Set to |
To modify a specific entry, you need to modify all the lines that have that level.
To add a new level entry, you simply need to add a new line to the file. Normally, after the last sibling or at the end of the file.
To deactivate a level entry you can remove the line(s) from the file or change the value of the flag in each line concerned.
How to add or update geography entries?
In order to add or update geography entries to the system, you need to execute the following steps:
Look for the menu entry Geographical data.
Place the cursor hover the menu entry in order to display the sub-menu.
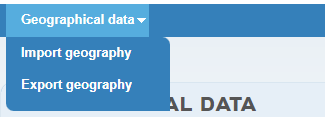
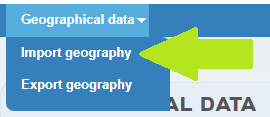
In this new menu, click on the entry Import geography.
A form looking like below will open.
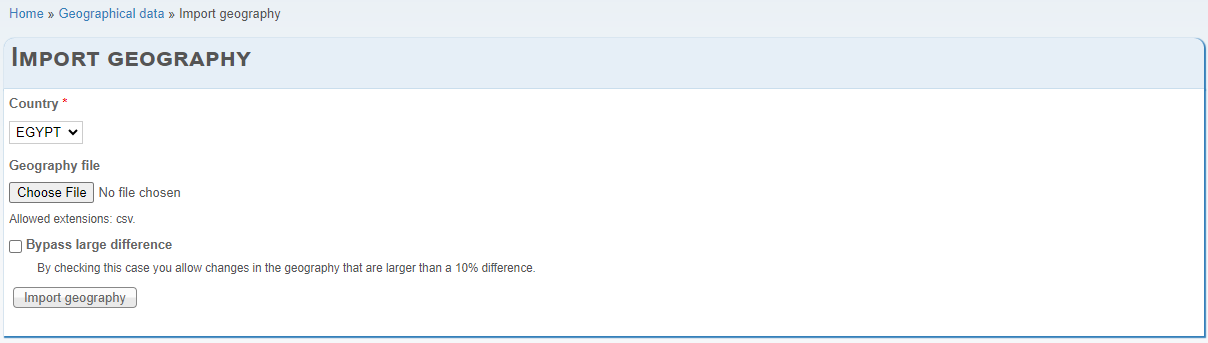
If there are other choices, you may change the value of Country to export.
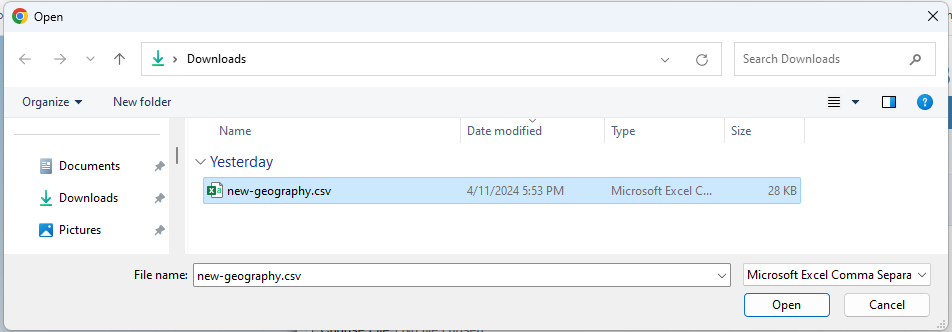
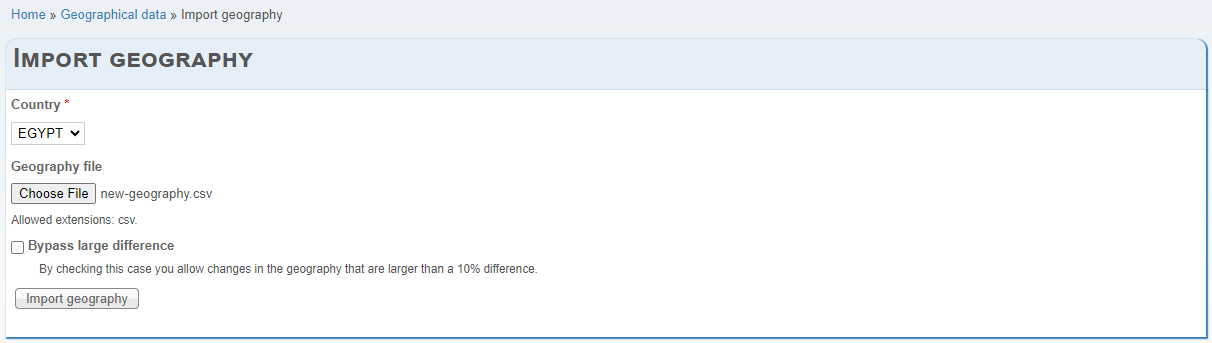
You may also select the file to import by clicking on Choose File. In some rare cases, the source of data will not be a file, so there is no need to select one.
By default, if a difference larger than
10%between the new changes and the current geography state is detected the import will not be executed. The checkbox Bypass large difference allows to bypass that difference. Anyhow, we recommend to not check the checkbox, unless a large change is expected.
Click on the button Import geography and wait for the feedback message.
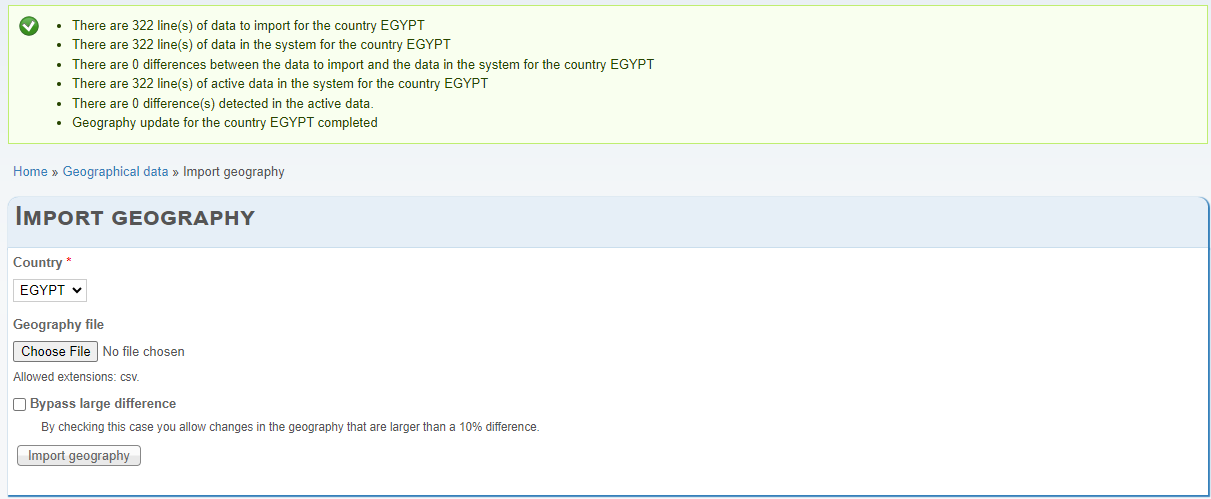
The size of the feedback will depend on the actions performed. In this example there were not changes to apply.

Once the import complete you can check the changes, by following the steps in How do I check the current geography state?.
How to export the geography ?
In order to export the current geography entries present in the system, you need to execute the following steps:
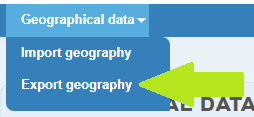
Look for the menu entry Geographical data.
Place the cursor hover the menu entry in order to display the sub-menu.
In this new menu, click on the entry Export geography.
A form looking like below will open.
If there are other choices, you may change the value of Country to export.

Click on the button Export geography and wait for the feedback message.
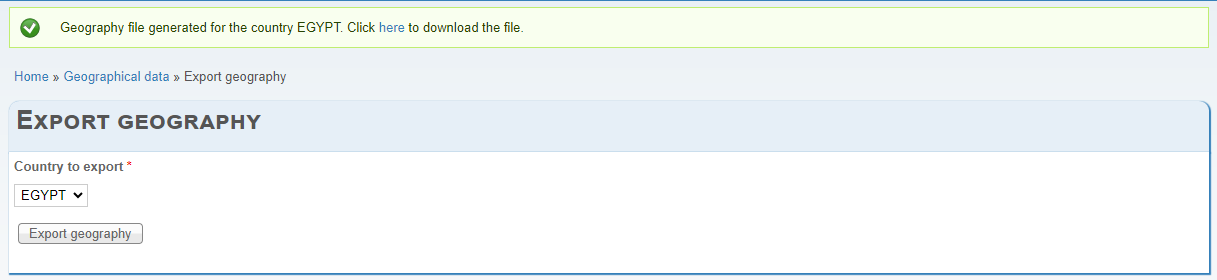
On the displayed feedback look for the download link here and click on it to download the generated file.

If needed, you can track the download status on your browser.

Once the download complete, you should have in your destination directory a file with the following name pattern:
[COUNTRY_NAME]_[DATETIME_OF_THE_EXPORT]_EXPORTED_GEOGRAPHY.csv
You may change the name of the file at which